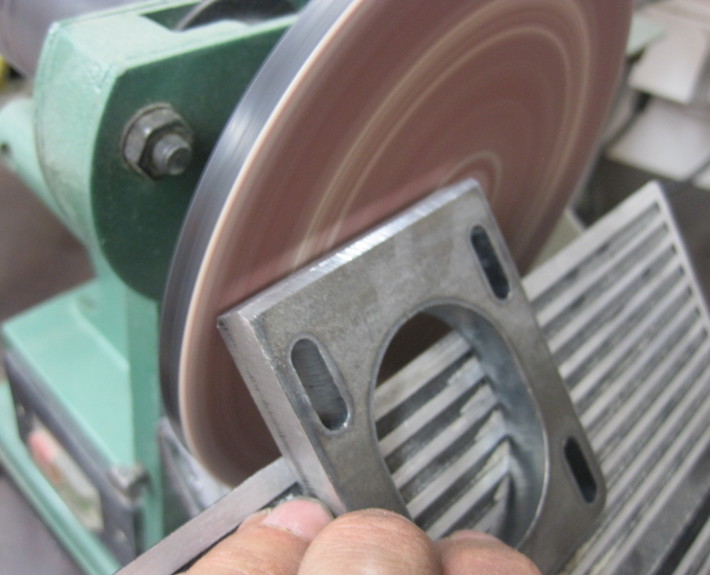
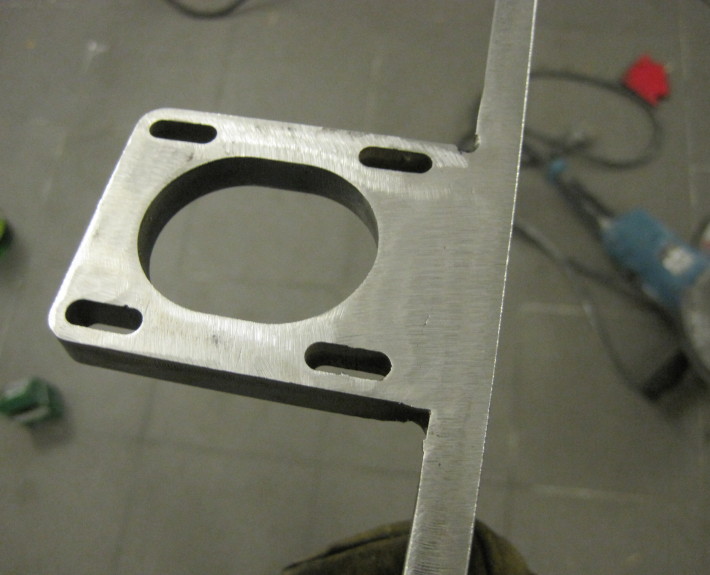
Here is the motor holding plate of the Z (vertical) axis. I was sanding down the edges to weld it angular to the Z spindle plate.
looks quite nice after some sanding^^ (the seam was not very nice… I had to weld it twice, because the first try resulted in a not so angular motor mounting plate…)
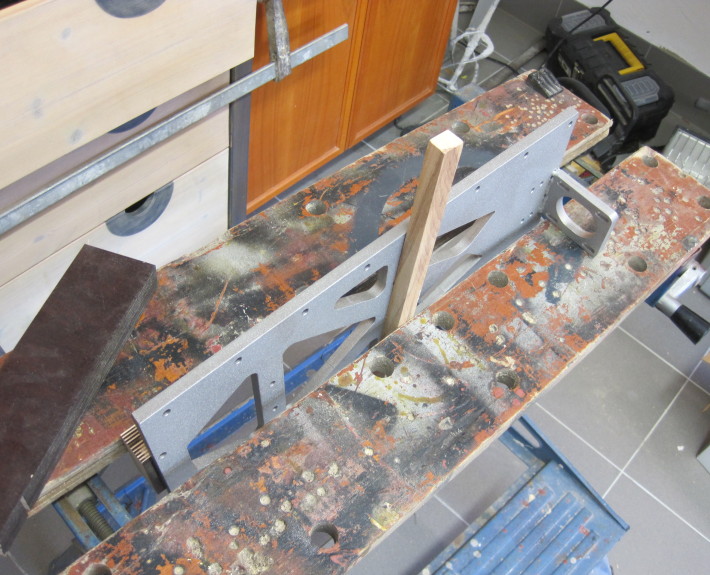
this is the z spindle mounting plate with the welded motor mount on top. It was not very straigt – maybe because of the heat during laser cutting. However with a little bit of McGyver everthing is possible.
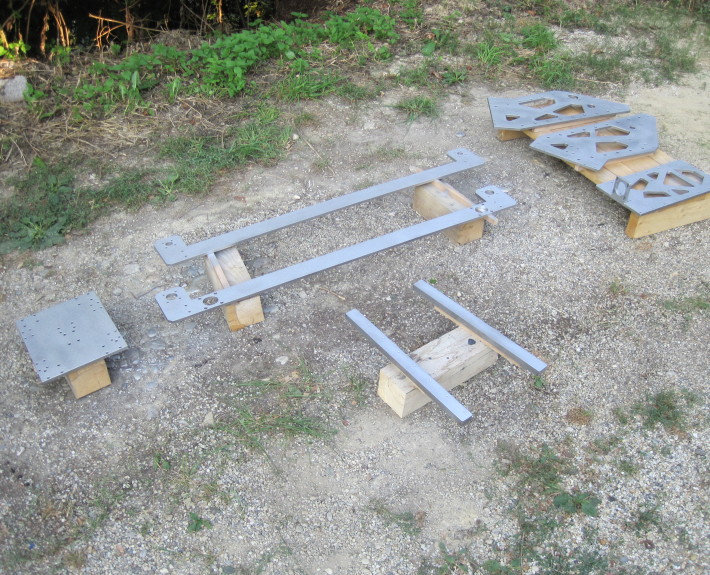
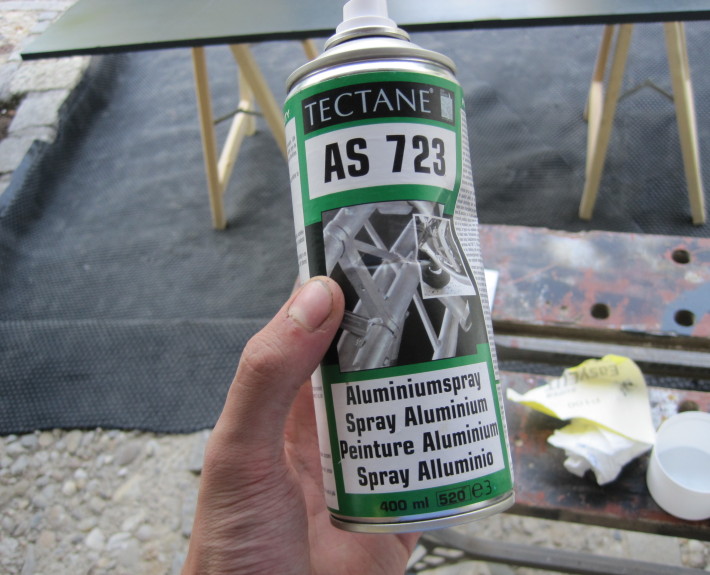
the sand blasted steel pieces started to catch rust very quickly, so I found this stuff down below here. Its aluminum spray, which leaves 99,9% aluminium once dried. Only a few passes and a few cans of this stuff (5€ each) later and the steel plates looked even more sparkling the before! And the coating is very durable and resistant to scratches…. mmhh I think I am in love with this spray oO
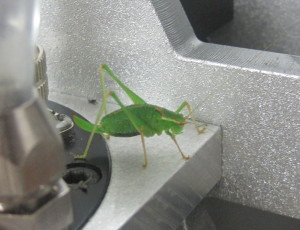
lots of pictures huh? … apart from a little grasshopper (on the left side) the camera was my best friend during the build.
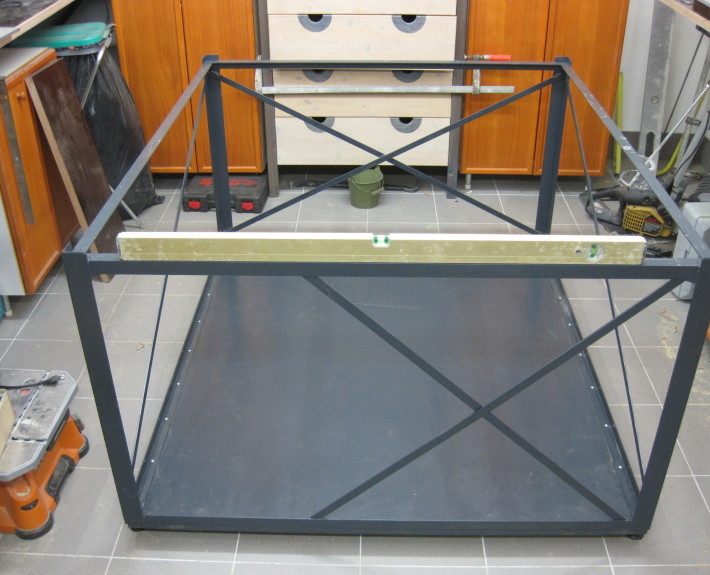
The base placed in the not so offical laboratory, which is the home for ripper. The owner of this not so official place was not very happy with the size of ripper… yeah
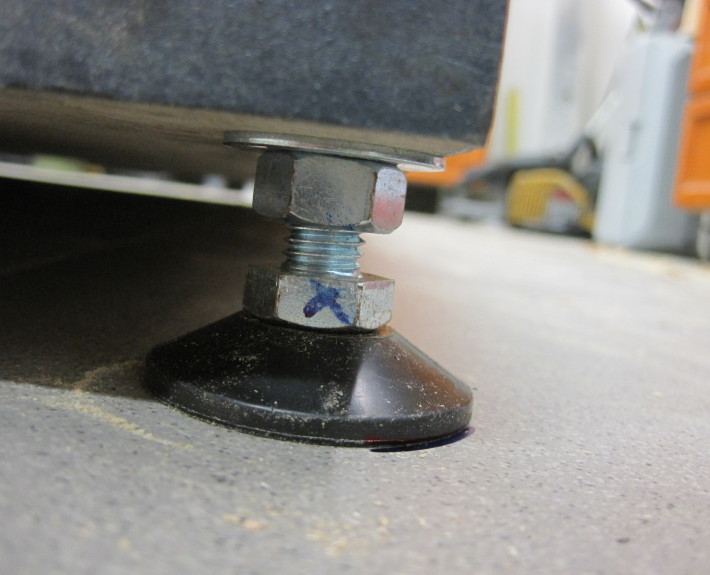
The feet of ripper were little plastic cones which I can screw in and out. Using a broken level I wasted about 2 hours of adjusting and wondered why it was always off each time I placed it somewhere else. So make sure when you buy such a level if that bubble thingy really works the same in both orientations.
let me introduce to you: Franky the grasshopper!
During the 4 weeks it took me to build – franky was always sitting somewhere on ripper… the garage door was open most of the time, but he did not leave me.
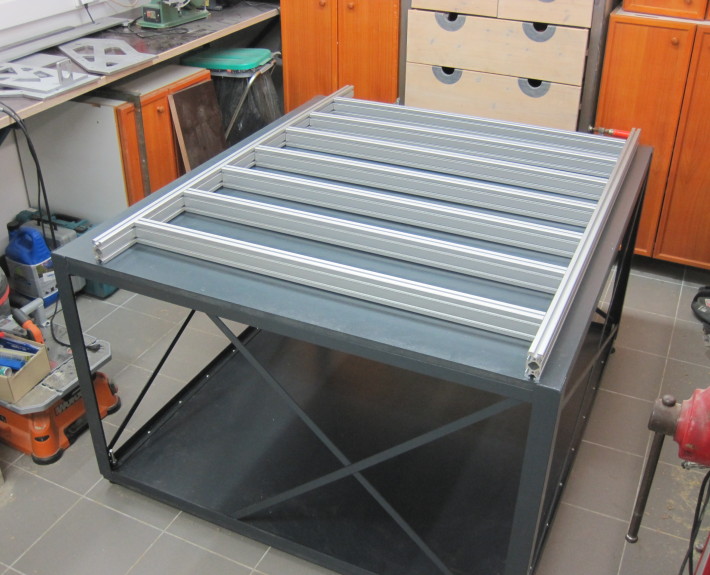
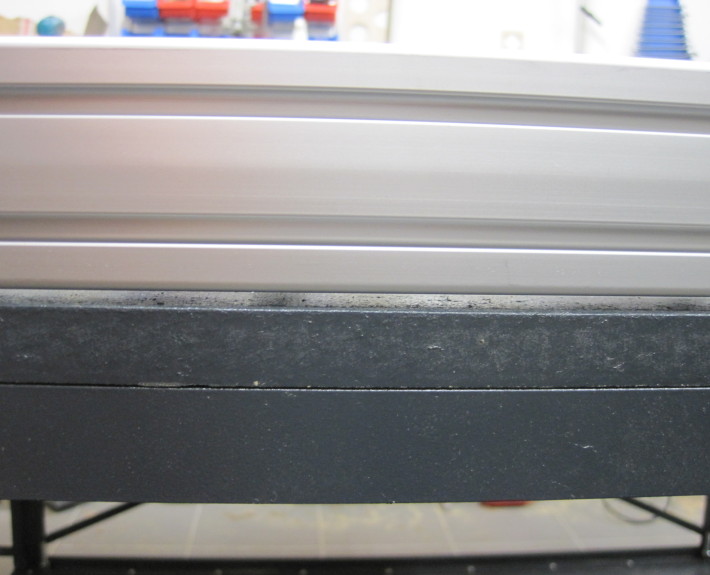
placing all the aluminum extrusions for the machine bed on the table to test if everything is right… well the base was a little bent so I had to correct it… (I saw a light crack from the side)
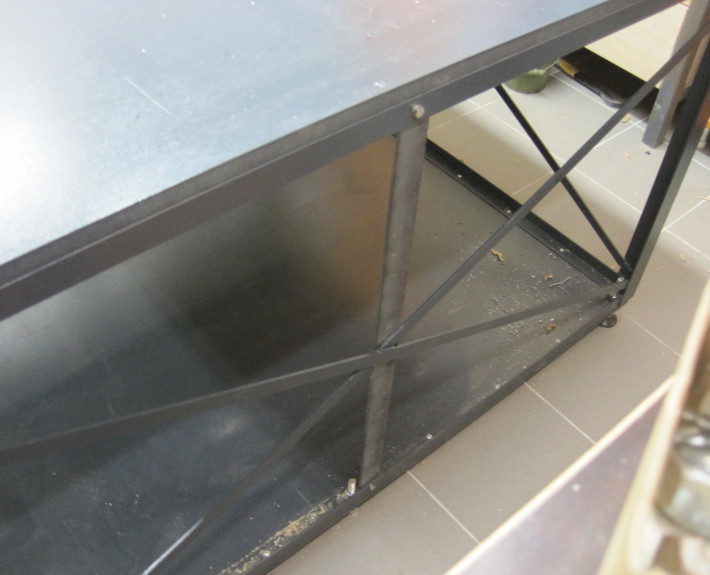
took some time to fit the steel piece into the base and bolt it down. now everthing is even… huray…
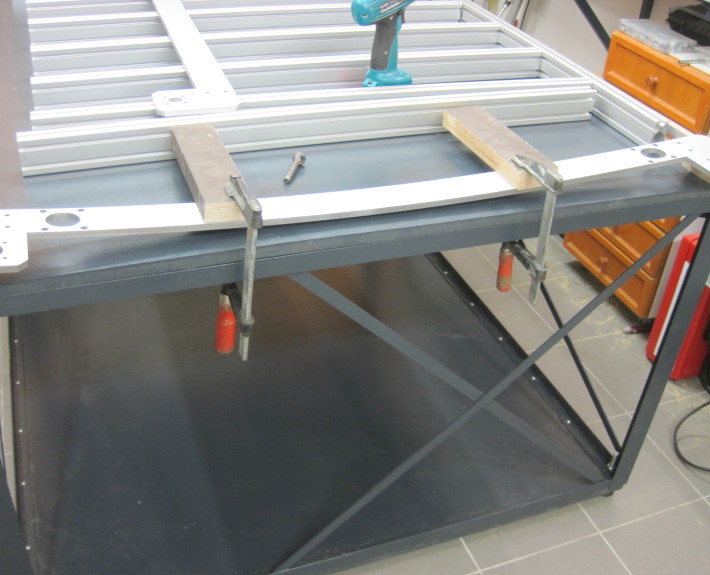
because the bending stuff worked so well for the z- spindle plate I applied the same technique to the other steel pieces. In this picture it is the front plate of the machine bed.
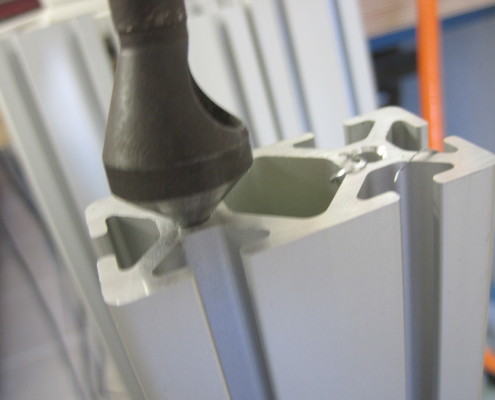
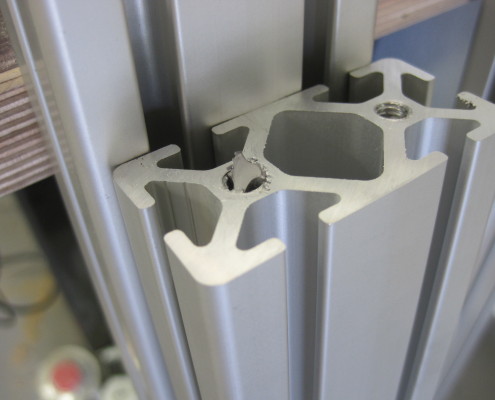
Here are the aluminum extrusions which all needed to be prepared to bolt them together. This was boring… woah… now I understand why they chagre 2€ for every thread…
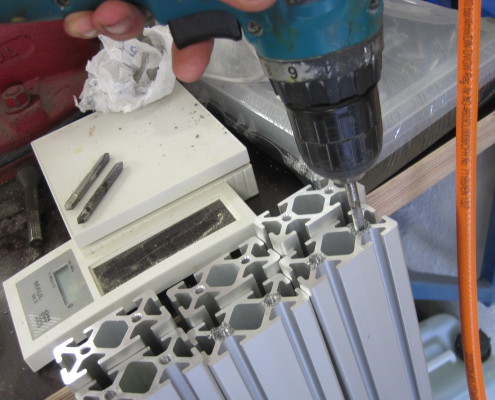
Using the portable drill was a good idea… till I broke one cutter – fiddeling out the dead remains of the broken cutter was more time consuming than what the portable drill saved me. So the old-school method is still the most reliable
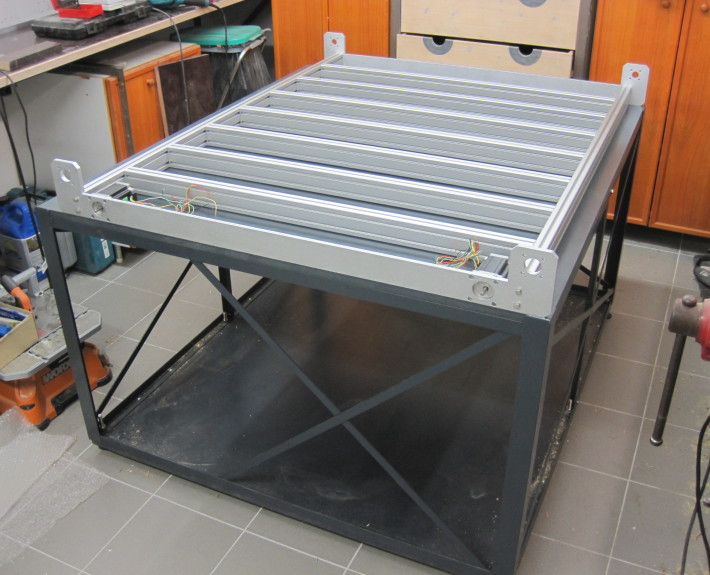
bolting everything together was so much fun, that I did completely forget to make pictures of it – sorry… So here is the machine bed assembled with the front and back plates, which later gives home for the X-axis spindle bearings and the dual stepper motors.
