The story before it began
My madness begun in 2011 when I stumbled across DIY-CNC builds of other people on YouTube. I watched a lot of videos and read dozens of build logs to gather some knowledge about this topic. After a couple of weeks I had a MDF (wooden) based CNC designed on paper, but I was not very proud of it. It would have been simply a thing that would be defined as a CNC, but it would still be a lump of wood, which starts to bend once the air humidity changes. MDF based CNCs are great if you want to do less precision important work like sign making for example.
However I realized soon, that a CNC machine which is built crappy out of a few chunks of MDF wood will not be valuable compared to its cost. In contrast to a nicely built and metal-made CNC can be resold many times above the material cost – even years after good and satisfying use! So this was a no-brainer for me: build a metal based CNC!
I already designed ripper when I was 16 years old. It was my first try in 3D-CAD design in SolidWorks and after about 6 Months of designing and gathering knowledge the 3D model of the early ripper was finished. Sadly I did not have the guts to buy all the parts so the project blurred slowly away.
Two years later I was really bored by hand-crafting all my projects. For this reason I needed something which could help me with my projects – voila! rebirth to my old CNC design. With 18 years I was more confident about what I am designing and the old CNC 3D-Model I created back then was looking still very nice. So I just made a few adjustments and optimizations, because then I was able to calculate the deflections and stress of the materials.
What I did not expect / What I want to suggest anyone who wants to build a cnc
Throwing yourself into a completely new topic can be quite scary at the beginning… I did not know what was important, or what I had to keep in mind.
The most important considerations are:
- How much do I really need the machine once it is finished?
- What size of machine do I really need? Do I just want to mill small PCBs or huge PVC and aluminum chunks?
- Am I good enough in crafting?
- Am I able to make it from the beginning till the finished machine?
- Is there enough space to place the machine?
- Do I have enough money?
Before starting designing your machine answer all these questions first! carefully! It would be a shame if a nice and super-cool cnc just sits there in the basement for nothing…
Moreover what I kept out of my mind was where to put the CNC on. The base of the CNC machine is one of the most important parts – if the base wiggles and flexes, then the milling quality will be wiggly and wobbly too.
Building the base out of wood was my first idea, because wood is easy to craft and it is cheap. However a wooden base which is sturdy and stiff enough would have required lots of wood, which is heavy and difficult to transport. For this reason my choice was steel (because welding is fun) and the entire base did not weigh more than 10kg once it was finished – and still super stiff!
Another thing I did not mind, was whether the power outlets are strong enough to power the machine. When plugged in with 1.5kW spindle, 500W stepper motors and 1.6kW duster and 400W PC System, ripper sucks a lot of energy. The wiring in the wall must be really able to handle this load through one single outlet/fuse. The outlet for ripper is fused with an inert 16A 230V fuse, which blows when plugging in the machine the first time after some days of use. This is because the capacitors in the VFD of the Spindle and power supplies are completely discharged and require a high current-in-rush to recharge again.
So if possible try to use a 3-phase power outlet, which helps you to avoid these problems (often with higher rated fuse) and even reduces the cost for the VFD. The only pay off is, that when reselling the machine, a limitation to 3-phase energy source can be a show-stopper for buyers.
Also always make a list of all parts you buy to keep the cost in mind. Buying hundreds of small components can often trick you in how much you have already spend for your machine. I did a complete list before ordering any part for my machine to know the total cost.I knew exactly how many M5 screws with 25mm length I needed, or where I want to buy the vibration dampers for the base. This also avoids forgetting any parts when ordering them online.
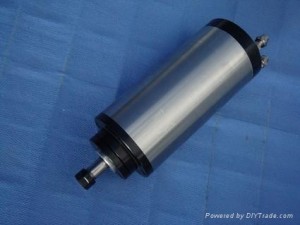
2kg, cheap bearings, ER11 collet
(designed for wood milling)
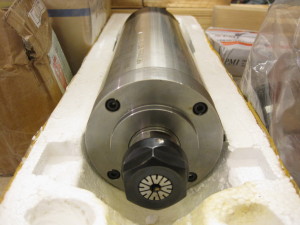
8kg, cermaic bearings, ER20 collet
(designed for metal milling)
The setup of the machine and adjustments of the rails are very important for later milling quality. These linear rails you can see on ripper can bend freely before they are bolted down – if you just bolt them down and think you are finished… you won´t be happy afterwards – so please take enough time to align the rails and make sure everything is in proper angle. The dial gauge was my best friend for some time, which saved me a lot of troubles! Dial gauges with a magnetic base cost ordered online not more than a rack of beer, and it really helps you when putting the parts together.
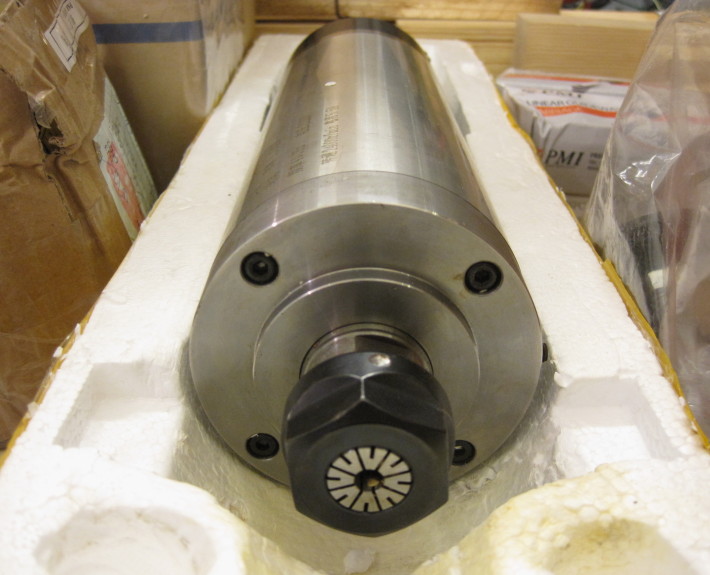
I did also put many thoughts into which spindle is the best for my needs. You can find many forum treads around the internet covering this question. But what I have figured out is, that you can’t mill metal with a spindle which is designed for wood. You simply should not do that, because it could damage the spindle very quickly. So if you are happy with wood milling only, then any 100€ cheapo china spindle will do the job. But once you want to mill aluminum you need a spindle which is really designed for the application. If chinese suppliers state their spindle is only rated for wood carving, that you can trust them… Important are good quality bearings and a big enough collet. Most of the cheap spindles come with an ER11 collet which is only suitable for milling with very small diameters. Try to get an ER20 collet spindle, because the often have better bearings. And please don’t believe a chinese supplier that his spindle has “german” bearings – there is a small town in china named Germany. Ripper’s spindle has 3 ceramic bearings which are very sturdy and have no noticeable run-out – even after days of continuous milling. Moreover looking at the weight of the spindle can help you to estimate the quality of the spindle. My spindle weighs 8kg – the cheapo china wood carving spindles weigh with the same power rating only around 2kg. They save their mass in smaller shafts, thinner copper wires, smaller bearings and flimsy cooling chambers.
Tools you require for building ripper
As I have designed ripper to be manufactured with as little tools as it was possible almost everyone with an ordinary equipped wood-workshop could assemble the machine.
- Dial gauge with magnetic base
- Side cutter with metal-cutting and sanding discs wood sanding machine (abused to sand aluminum pieces)
- Treat cutter in different sizes (M6, M8) portable drill + drill bits
- Welding machine for the base-table (optional)
- Hand-iron saw
- Screwdrivers, flat wrenches, hexagon socket screw keys
- Water level
- Permanent markers, Sanding paper, Hammer (+ rubber hammer if possible)
- Electrical wiring harness (cable stripper, soldering iron…)
- 2 human hands (I think monkey hands will work too, but no guarantee here)
There is actually no helping buddy required, as I managed to assemble everything by my own, but if possible a helping hand could really decrease the required assembling time.
The heart-pieces of ripper
When I was designing ripper I didn’t exactly knew at the beginning which parts are most important for a good machine performance. The Internet is crowded with build-logs and videos of other DIY CNC machines, but there wasn’t any tutorial for bloody beginners like I was.
I was a ghost at www.cnc-zone.com and read about the problems people were having building their machines. After some months I figured out these components are the most important, which should be chosen very carefully:
Ball-Screws
If the ball-screws are lacking quality – you gonna have a bad time!
There are many different suppliers for ball-screws all around the Internet. You can go fancy-pence and get some Hiwin or THK class 1 screws for $$$.
But please consider, that your worst component is always your limit for quality. So if your machine is made out of aluminum extrusions and steel, then you won’t really notice any difference at all if you buy the class 1 screws. Moreover I have seen many people using high-quality ball-screws with dumpster-style bearings.
There are these rip-off THK bearing blocks around the bay, which you can buy for 30€ and get a fixed and free bearing side.
But please only buy these if you don’t mind about serious backlash in your axis.
I would really suggest to buy higher quality bearings ( especially the fixed end ) and to save your money a little bit at your screw.
I bought these class 7 ground rolled china ball-screws from eBay, which were relatively cheap, and did cost me around 1/4 of the price the screws from Hiwin would have cost me.
But sadly they were bent when they arrived – one screw was dent on it’s grooves, so the balls where not able to move in them. Luckily it was just at the very end of my X-axis screws, so the operation wasn’t endangered anyways.
However once these screws are installed you can expect medium performance in your aluminum build machine. Sadly a little bit more quality screws were not in my budget range. class 5 screws (precision rolled) did cost about twice the price of my class 7 screws. So if you have the money left, I would really suggest you to leave your hands of these class 7 eBay ball screws and buy higher quality screws instead. Class 1 is ridiculous, but I am sure the screws claimed as Class 5 already have quite good quality.
Stepper motors
Stepper motors are generally known for a high torque at the low-rpm range. It is relatively difficult to find stepper-motors which give you good torque at higher rpm (~1000).
You can put your $$$ in expensive servo motors with $$$ drivers (about 5 times the price of a stepper motor system), but please remember that the worst component is important for the overall machine performance. Furthermore you don’t need high torque at higher rpm, because you don’t mill aluminum with a feed of 5m per minute, while still requiring massive torque on the spindles.
In ripper I am using a timing-belt/pulley gearing system, which allowed my to find just the right proportion of torque and speed. You can find the calculations here if you want >click< (they are in German, so google translator will help you maybe) Apart from that you can buy good stepper motors, but please don’t save your many at your stepper-motor drivers then! I would say 50% of the performance of the stepper motors comes from a good stepper motor driver. I would really suggest you Geckodrive.com drivers. They really help you to avoid troubles when setting up your machine. I am using the G540 which never lost any step on my motors. There are stepper motor drivers around the bay for a fraction of the cost of a G540. They are even rated the same amperage and micro stepping as the G540 but they often die, overheat, loose steps, and make your motors sound rough and noisy.
In ripper I am using a dual driven x-axis, which gives me the advantage of better acceleration performance. The only real pay-off of this method is, that both X-axis motors must run completely synchronized. In case of a failure of one of the two motors, the machine could be seriously damaged, as one spindle would move and the other not, which would result in a massive deformation of the gantry.
When using a stepper driver with all axis integrated into one device the risk of a failure of one particular axis is very unlikely, so this is the main reason why I chose the G540.
The build log
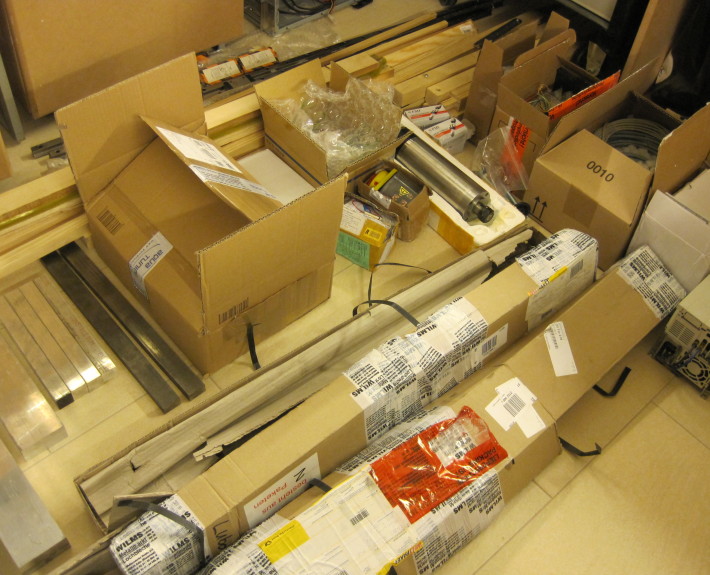
There we are! My laboratory filled with ripper! Every single part was ordered online, and delivered directly to my doorstep. I started to order the parts from around the world 2 months before. My postman and the guys from DHL/DPD were really curious why the had to deliver so many packages. I haven´t made a picture of the desks surrounding – they were filled with boxes too… mess
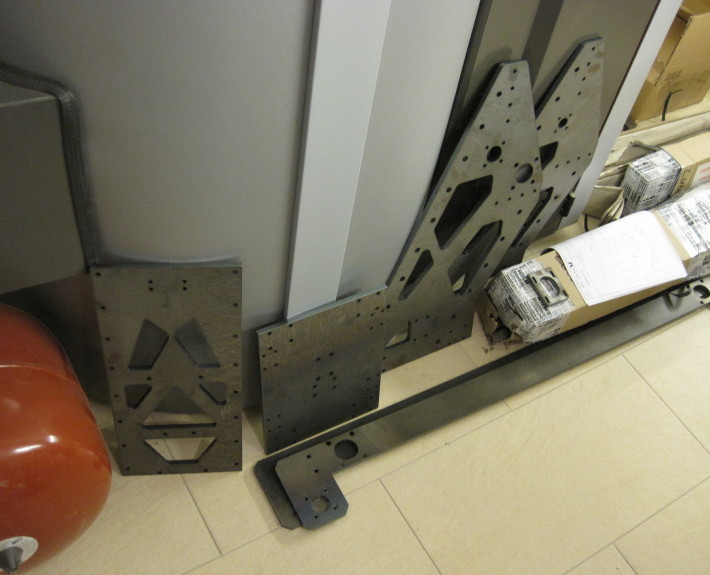
Here are all the steel parts. They are laser cut and out of 10mm thick S235JR steel. Even small 5mm bore holes were no problem at all. But they were dirty, oily and the surface was untouched. So I gave them to a professional sandblaster, who “blasted” (with metal balls) all pieces to a nice shiny surface finish.
The spindle was one of my biggest concerns… It was also one of the most expensive components of ripper. It has 3 ceramic bearings – unlike the cheap spindles with 2 ordinary bearings. Also it brings a big ER20 collet and smooth 1.2kW of power (wich are far enough!). The spindle is water-cooled. I wanted to stay away from these air-cooled spindles, because I have read that they tend to overheat when the are operated in summer over longer periods. Even the supplier of this spindle told me that it is sturdy enough to mill metal.
so now lets start building everything together and see if it fits!
Just a note here: It was all in summer 2013 and as I am writing this it is early 2014 – I hope I don´t mess anything up here. But if there is something unclear you can leave me a message of course.
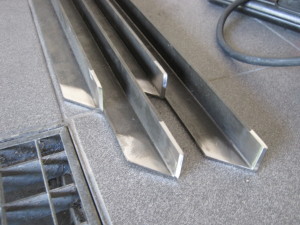
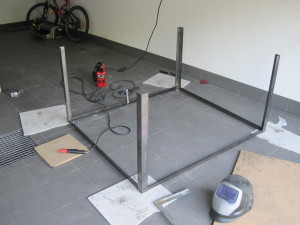
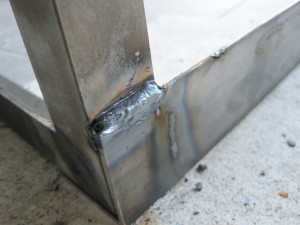
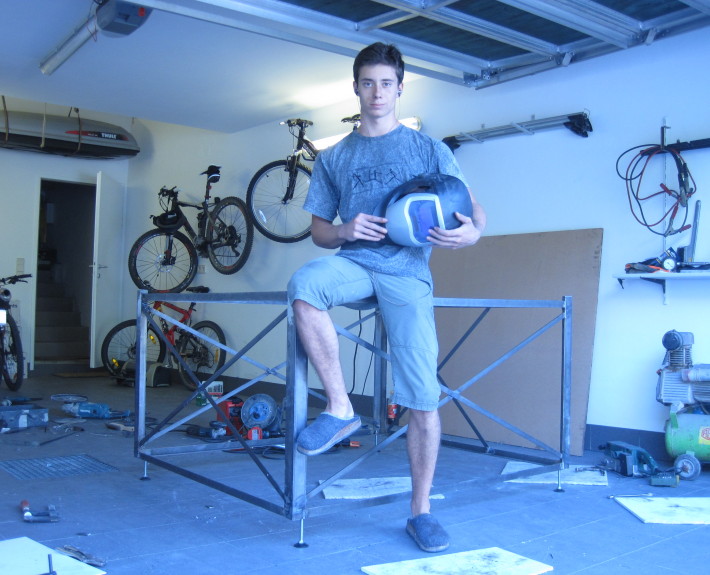
in the pictures above you can see the manufacturing process of the base. I used two different L-profiles – smaller ones for the top and bottom ring – wider profiles for the corners and flat profile to cross everything out. Interestingly I was thinking about leaving the crosses out, but the construction wiggled just when I pushed it with my small finger… with the crosses added the box structure is incredibly stiff – just about right for a heavy moving cnc spindle with support! The automatic welding helmet was very comfortable. I took about 1 good day to prepare all pieces to proper length – sand them and to weld them together.
The result was quite nice considering how much it did cost me (yeah except the time it required). Also I will never forget to put on a little more clothing to avoid getting sun burnt from the arc.
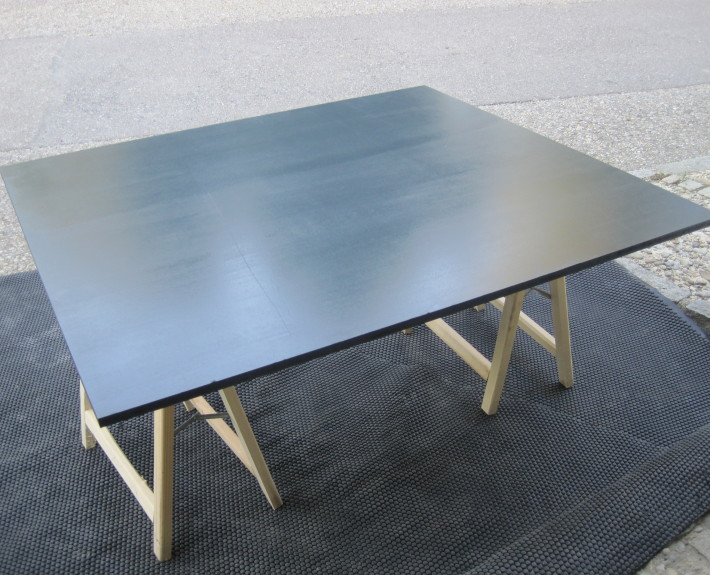
You got me… as top and bottom material for the base I used 20mm MDF boards. I painted them just as the metal in the same black/grey colour.
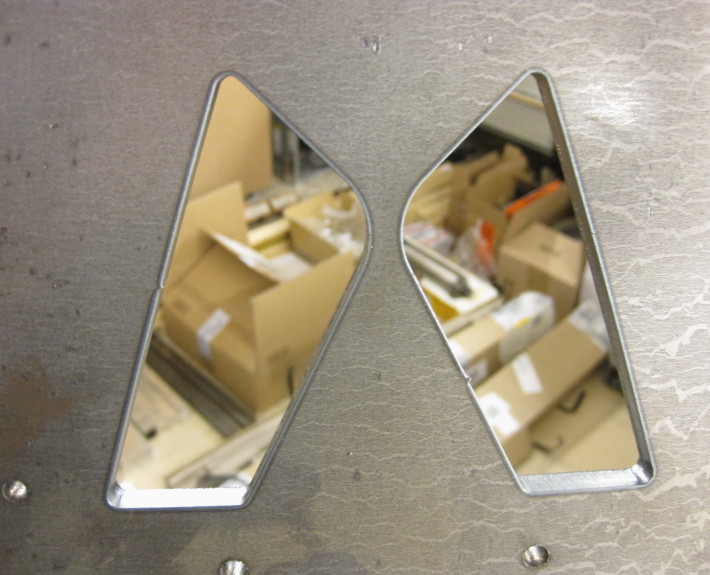
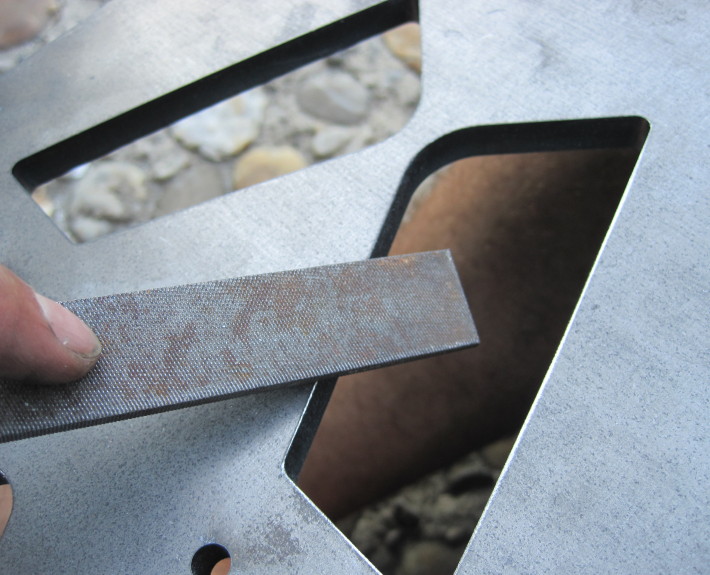
Interestingly all steel laser cut pieces had a firm spine on all edges. Just fiddled a little with a rasp and they were gone. Also notice the fancy logo…
