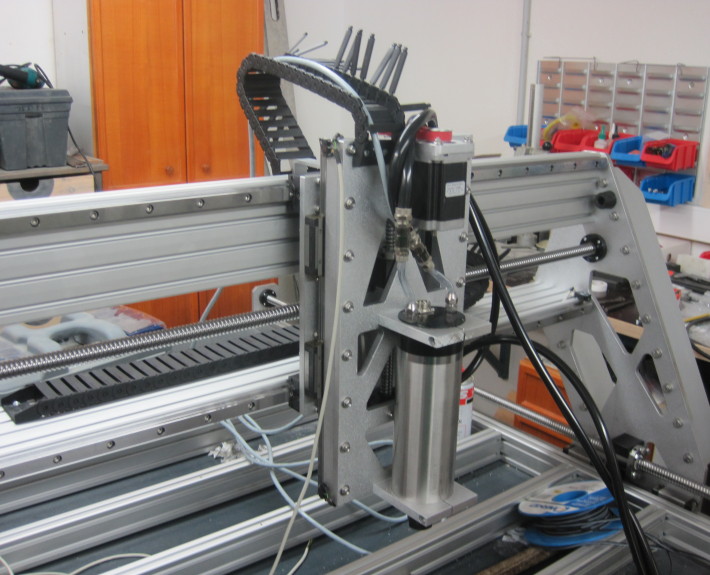
dozens of wires… luckily there was enough space in the drag chains I ordered from china. However very snug fit. I started with the wiring from the spindle, and made my way to the control box, so I didn´t had to work against gravity.
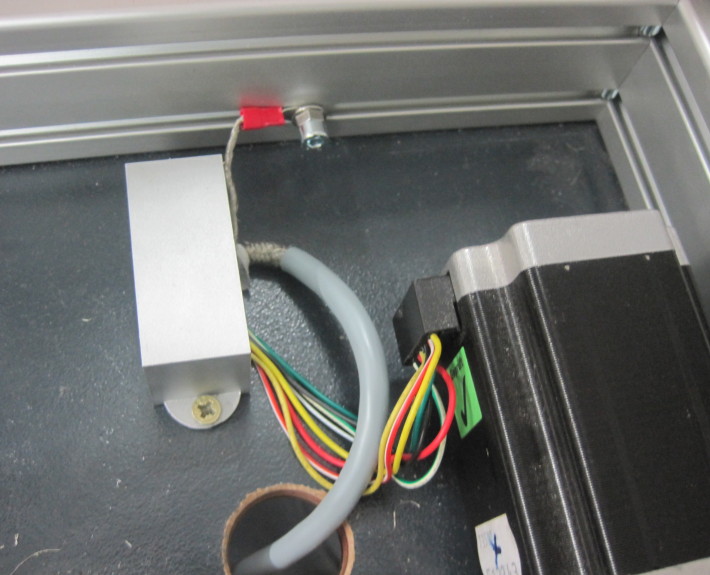
The stepper motors have 8 wires, so each of the four coils can be interconnected as demanded by user. Usually the low quality stepper motors, are already internally wired as Bi-Polar, Uni-Polar etc.
I bought a little plastic box, which I painted in aluminum. The space underneath the machine bed, can fill up with dirt and metal-chips quite quickly, so I thought this little box, helps to protect the connections to the motor from any short-circuit.
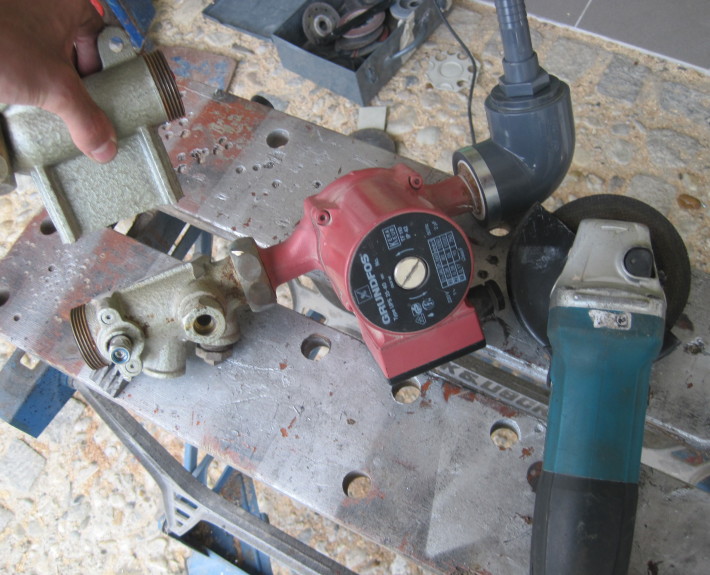
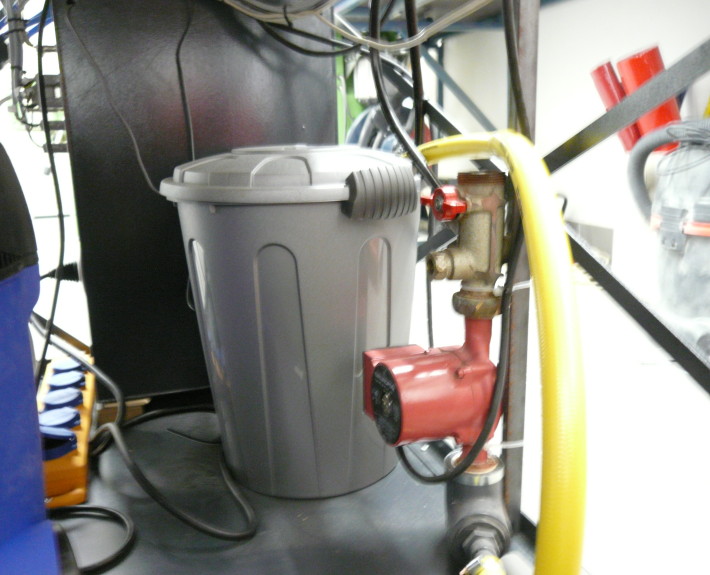
For pumping the cooling liquid through the spindle, I planned to use a little pond-pump. Sadly the water-piping inside the spindle is very tight, and requires a lot of pressure to push enough water trough it. My solution was an old radiator pump I had laying around with a total pumping power of 80W and 2 ATM pressure. It required some little modifications to mount the tiny tubes onto it. (normally 1″ fittings)
I used a 25L waste-basket I bought from amazon for around 8€ as the fluid reservoir.
It has enough thermal mass to emit enough heat even during heat periods in summer, with still adequate water temperatures.
In the beginning of the design, I tought cooling the 1.2kW spindle would require an actual cooling radiator, but I have seen many other builds which were just using a bucket to cool the water down again.
Depending on the speed of the spindle the efficiency should be around 80-90% which means around 200W of heat energy which have to be cooled away. Water has a very good thermal mass, and heating 25L of water by one 1°C would require 102kJoules of Energy which is equal to 28Wh.
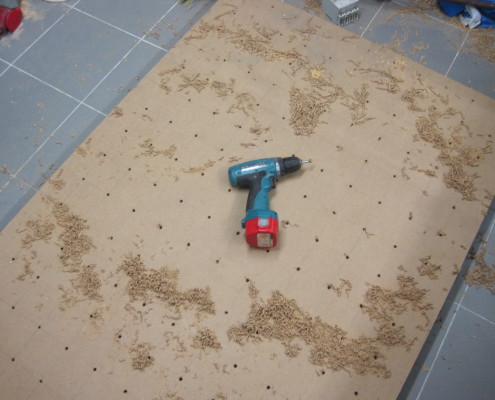
For the machine surface I am using a cheap 20mm MDF sheet, which can be easily replaced with a new one, once it is too much damaged.
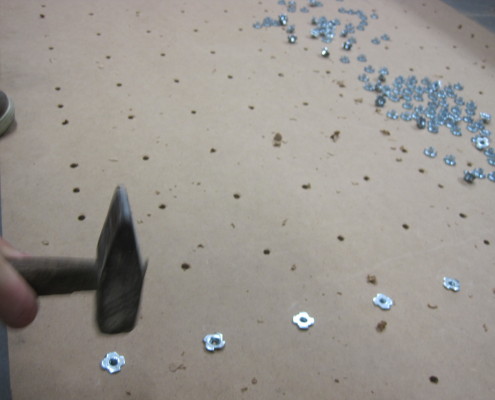
To allow easy fastening for the workpieces, I used knock-in-washers which allow screwing from top into the MDF sheet.
Never underestimate how much work 200 holes can be… Thanks to Sebi H. for some aid.
As the control brain for ripper (wich is running MACH3) I am using an case-modding PC I built when I was a lot younger… I remember the GTX280 graphics card in there was worth 450€ when I bought it – nowadays you can buy these cards at the price of toilet paper.
However the Gecko G540 stepper motor driver is connected via an ancient parallel printer port interface, which is really out of date in modern computers.
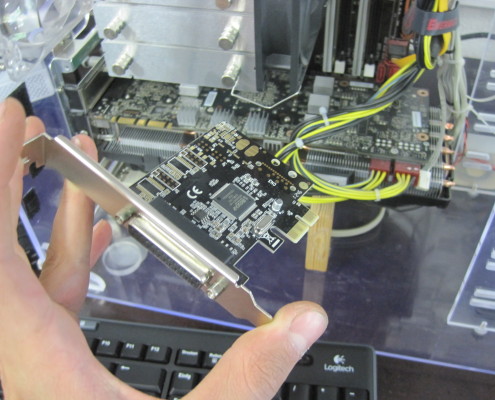
For this reason I bought an expansion card (~15€) which plugs into a PCI slot of the PC.
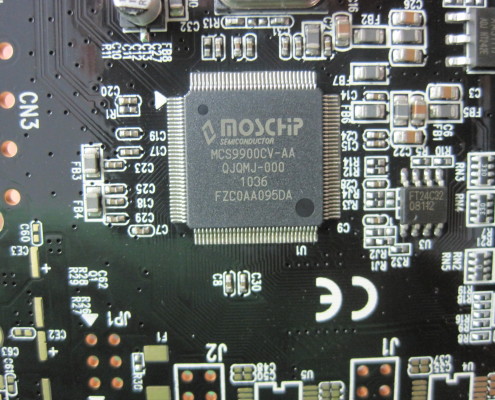
I really recommend no to use any USB-to-Parallel adapter cord or something like that. A reliable pulse generation is very important for a reliable operation! I used a PCI card with a conversion-chip from the company “MOSCHIP” which are known for best performance with the G540 and MACH3.
Furthermore I would stay away from these 1000 in 1 expansion cards (with RS232, USB, parallel etc. on one single card) – these expansion cards are often still using one single chip to handle all these function, and are often very limited in their capabilities.
Now it is time to finally deflorate ripper! As a small beginning I didn´t started with hardcore aluminum milling.
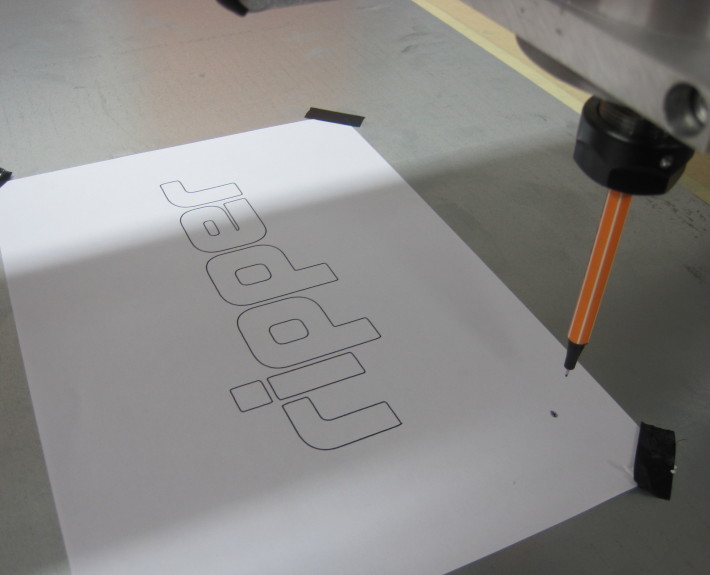
I mounted a pen into the ER20 collet, and started the first program. – which is of course “ripper”
Despite of some pen-deflections the writing was very nice and had no lacking steps.
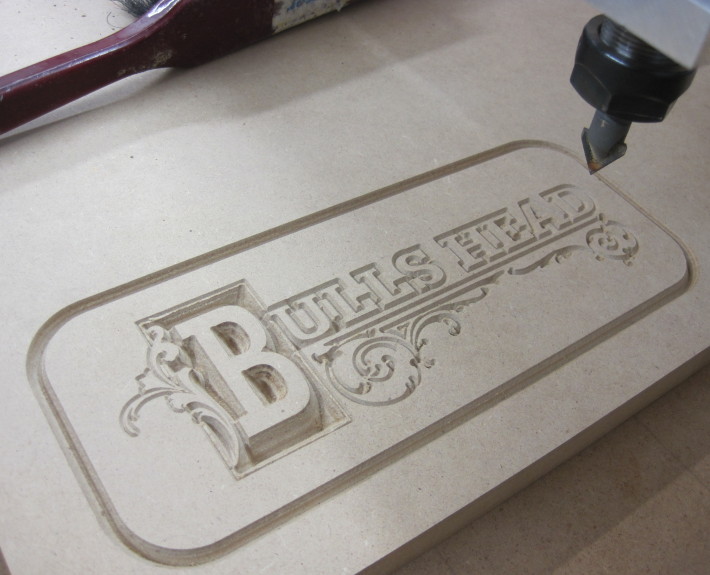
The next test was something more complex. I am using as(p)ire v(e)ctric for program generation. The “bullshead” logo is a general rule for almost every DIY cnc builder.
