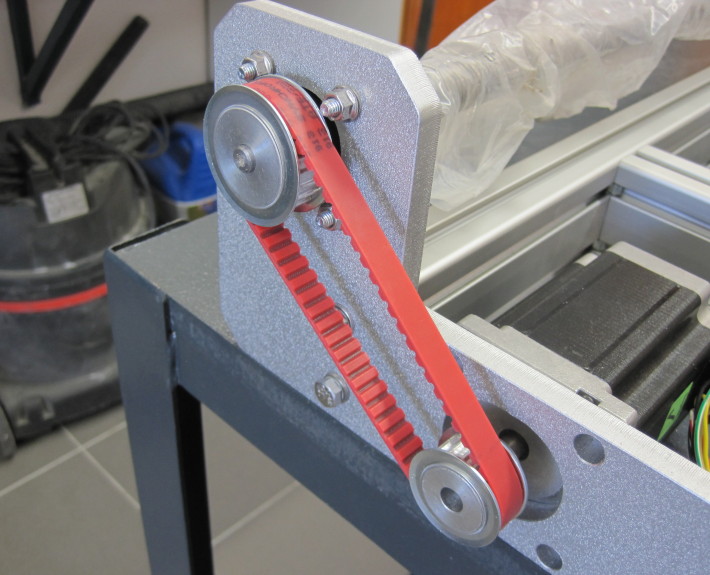
I don´t know why so many people told me in the internet forums that belts are so bad for a cnc… they are working just like a charm. I was told on different forums, that timing belts can cause serious backlash, because they could flex. I chose them because they gave me some margin for adjustments considering motor torque / speed. However everything was just perfect in the end. The motors can be moved 15mm in their mountings so the belt can be tightened.
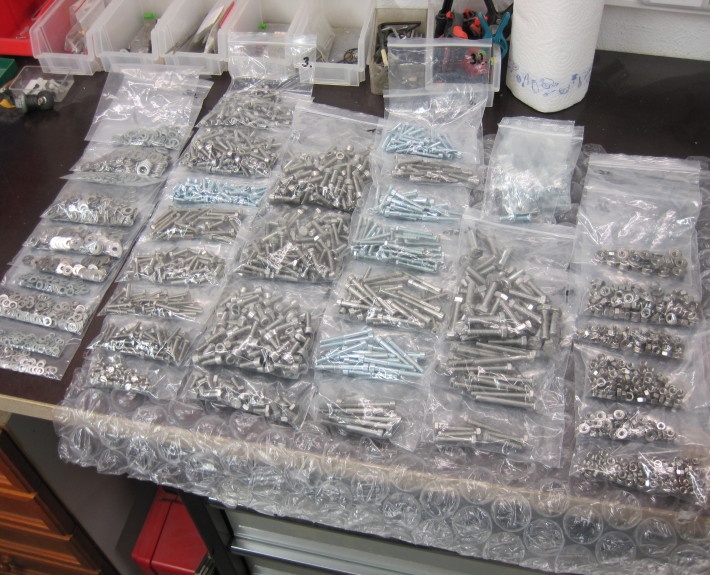
here are all the bolts and washers ripper required. Ordered all online of course and even got a bag of gummy-bears on top of the shipping. still a lot cheaper than my local hobby store. (with no gummy bears)
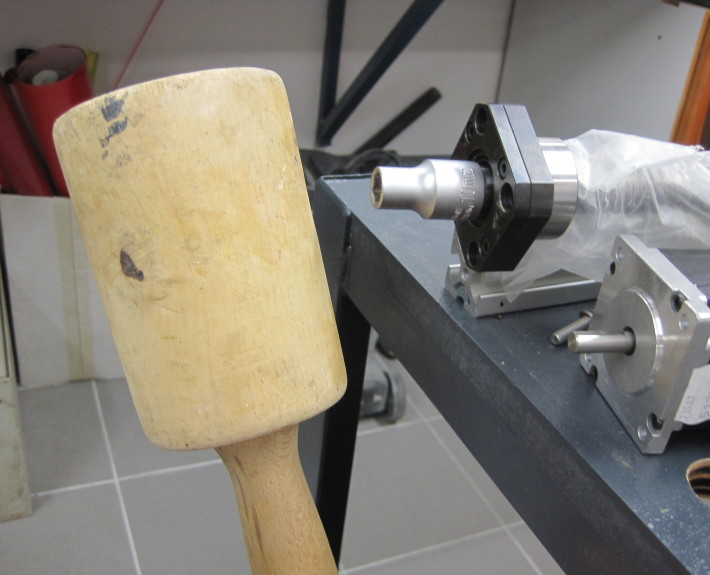
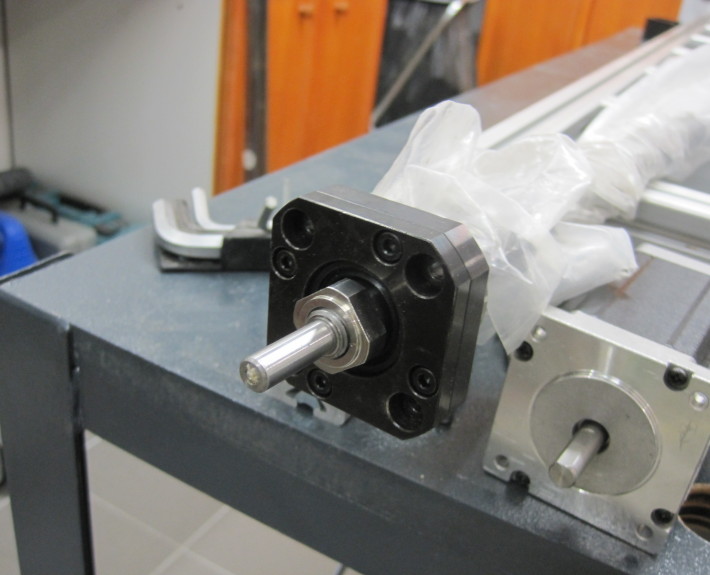
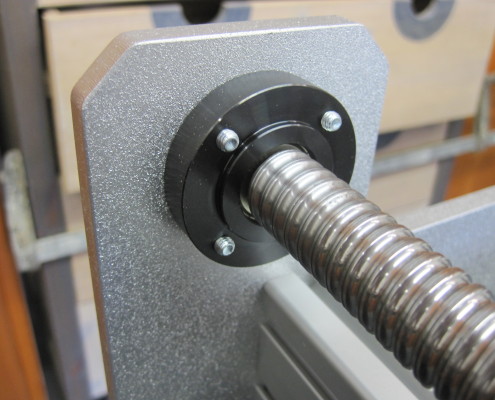
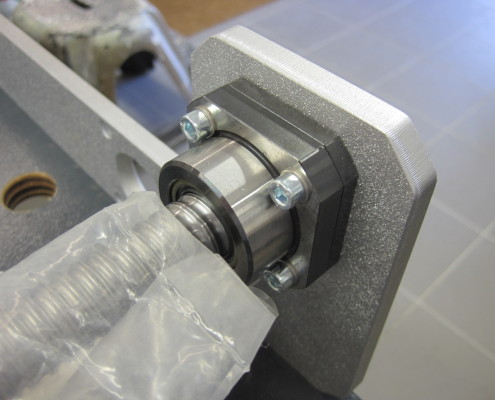
these are the ball-screws for the X-axis. I bought some THK bearings from eBay which were a really good deal. I don’t trust in the rip-off bearings from china. Keep in mind that a bad solid end bearing could cause serious backlash! Not only the screw is important! I hammered them on the shaft using a washer-nut and a wood-hammer.
looks very good doesn´t it? And yes I know I am using the bearing the wrong way round, but I just don´t care. works.
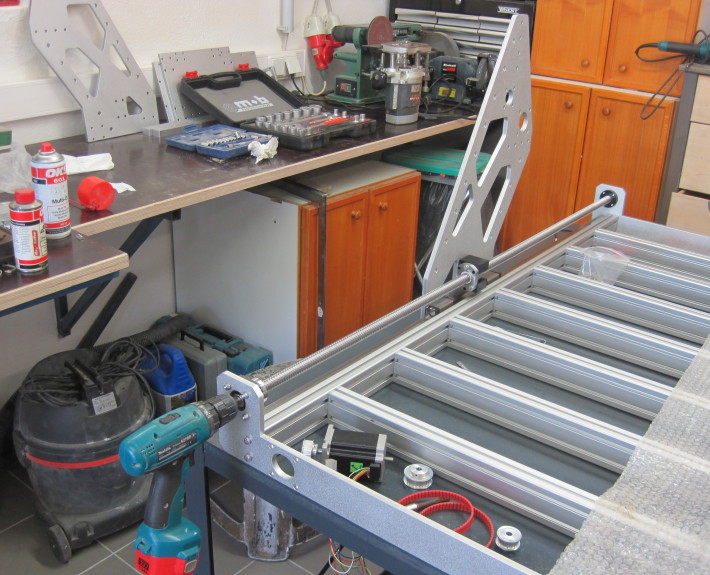
X-axis ball screws in place! check! notice the floating type bearing (from misumi – japan) on the other end.
sorry… couldnt resist to test it in action ^^ by doing this I noticed that the ball-screw was a little bit bent during shipping. – I fixed it by carefully bending it in the other direction and by not caring anymore… it became more and more staight the more I milled.
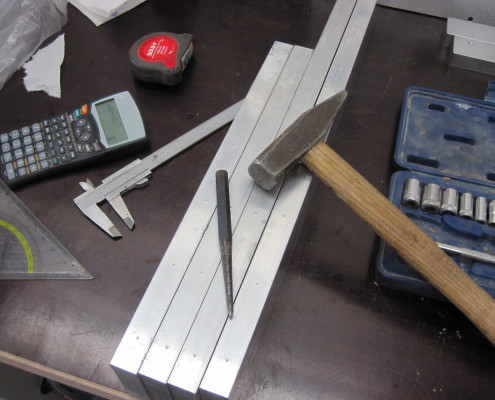
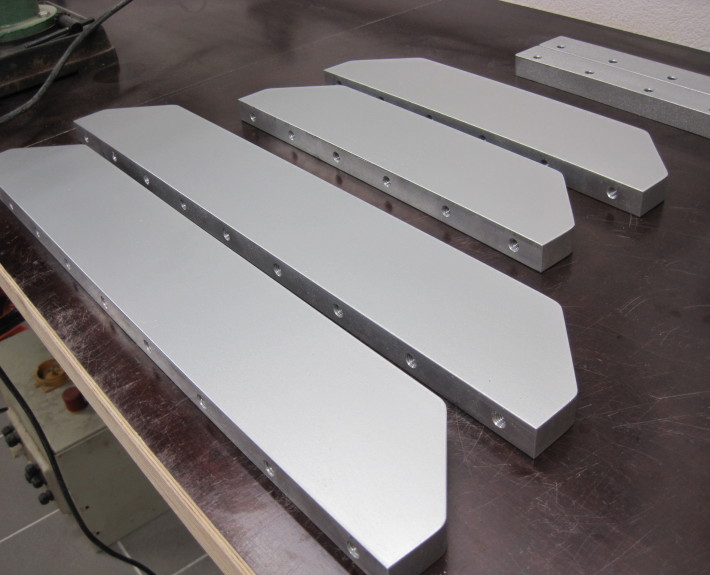
These little aluminum chunks you can see up here, are the side stiffers, which are required to enhance the stiffness in Y-direction.
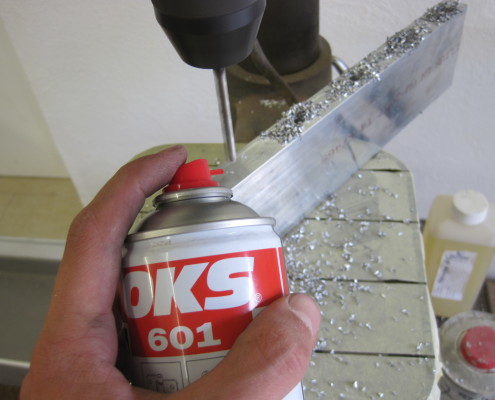
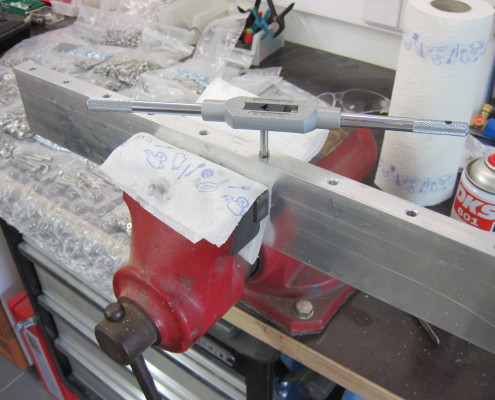
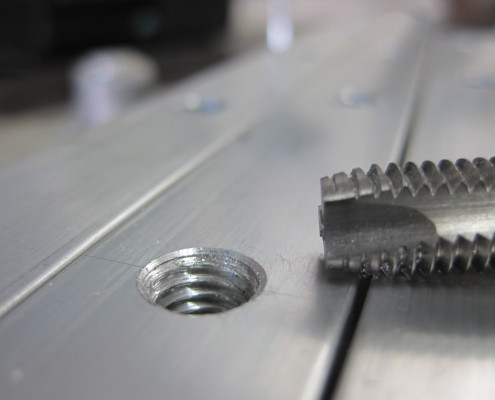
wow that was boring… some of the holes were not deep enough, so I had to drill out the chips from the tread cutting, to cut further. Drilling 4mm deeper than the tread is definitely not enough. But the effort was really worth it.
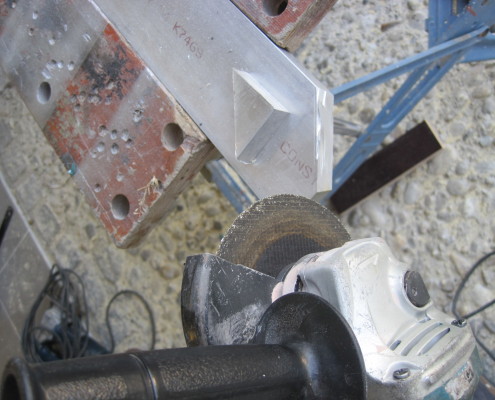
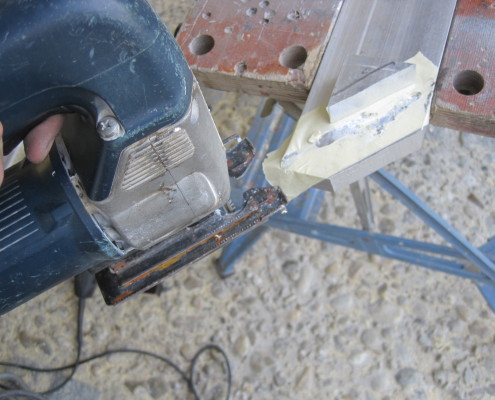
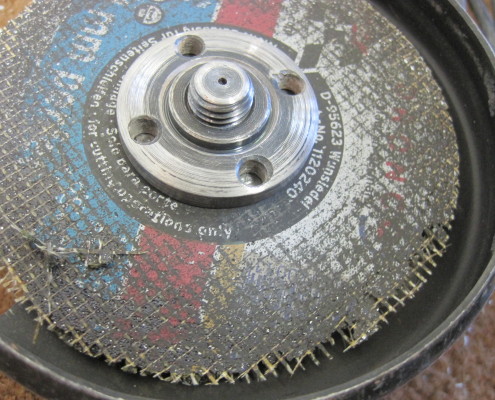
So how do you craft metals, when you don´t have any tools for that purpose? I raped my jig-saw and the side-cutter… I am not very proud of it, because the 20mm thick aluminum caused the side cutter from time to time to halt, and I blasted (yes they blasted!) a couple of metal cutting disks. Interestingly the method with the jig-saw was the most efficient.
yeah – that’s rape… for sure… No word to the disc I literally blasted – luckily I was wearing eye-protection so the dead-leftovers of the blasted side-cutter-disc just hit me everywhere else.
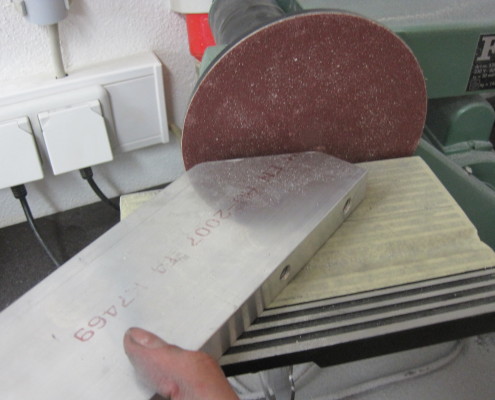
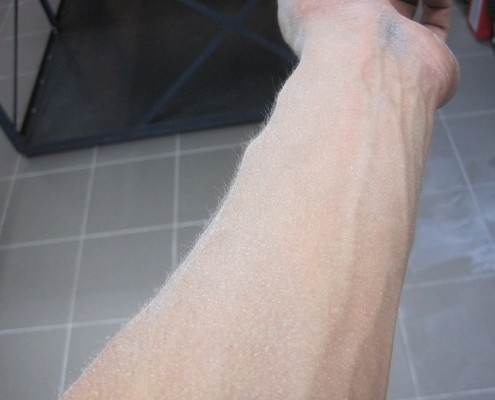
so to get off all the marks of the rape, I sanded everything down, which made me Iron-Man for some time. Aluminum dust. Everywhere. Madness.
These took me about 5 hours to manufacture and I covered them finally in a couple of layers of tectane aluminum coating. They don´t even look so McGyver style. very nice!
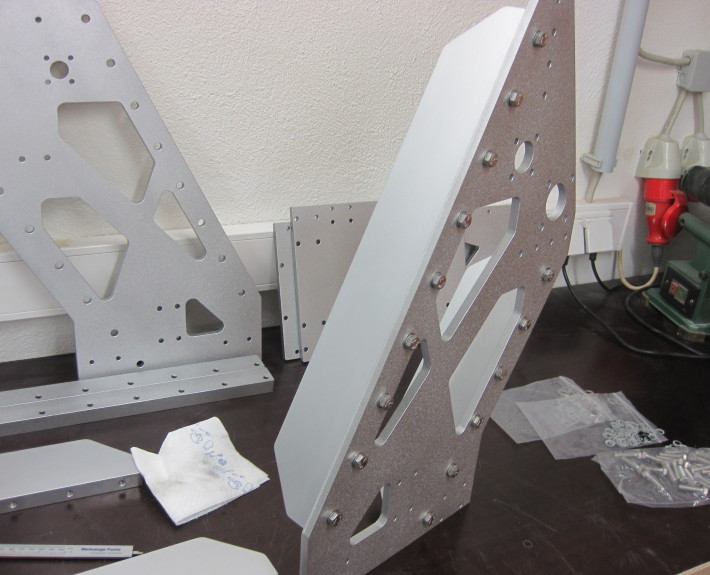
Ripper wouldn´t just look so rippery without these side pieces. They enhance the performance and help to reduce the cost of the machine. I have simulated (in SolidWork) many different versions, sizes, and thicknesses and the combination I have found here is just perfect for my needs.
bolt down! Maybe fewer bolts would have been ok too, but I think this helps to make it look super solid. patience required of course…
